In this tutorial, I will be showing you how effective brushes can be by smudging them. Smudging can be used for a lot of things but in this preview, I will mainly be using it to create a smoked effect.
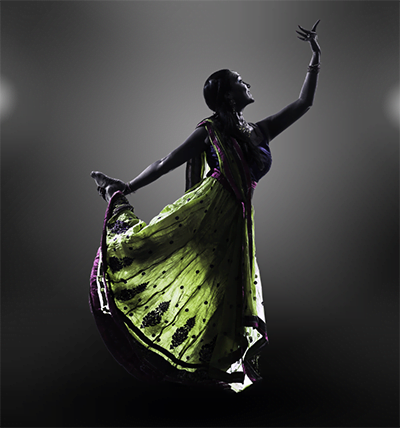
I have already prepped my image ready for the smudging. My stock image was displayed on a white background, so I changed it to a darker background. This will help with making the smoke stand out a bit more. I also brightened the model so the overall image will stand out in the long run. This is my prepped image.
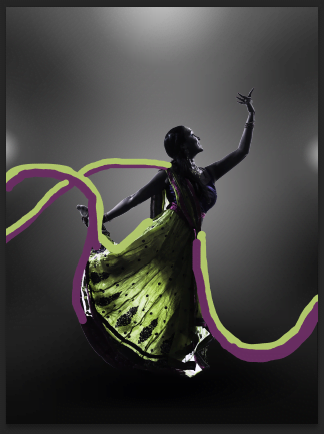
On a new layer, using the brush tool, simply draw lines where you want your smoke to go. For this image I have used similar colours selected by the Eyedropper Tool (I). This does not have to be complicated, as shown in my example.
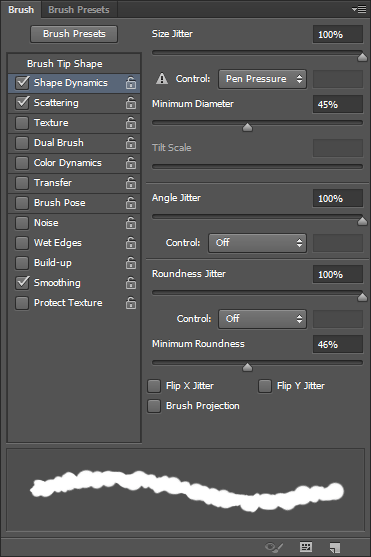
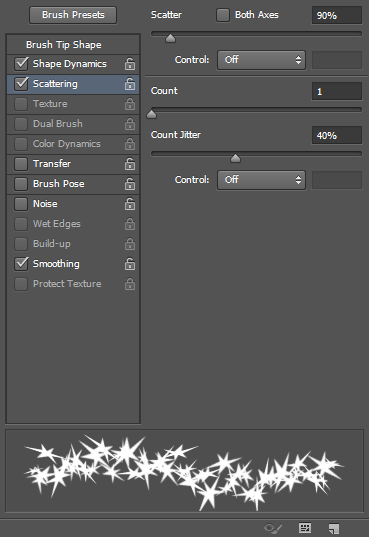
Using my custom made ‘Bravr Brushes, you have to configure how the brushes are going to be used. Firstly click on the smudge tool (left side panel) then press F5. This will bring up your brush settings. This will edit the shape dynamics and how much the texture of the brush is scattered. The best thing to do with this is play with it to get your desired effect. However I have provided my set up in the images below.
Once this is done and your selected brush has had its customisations enabled, simply go over your drawn lines. You will notice an immediate effect with this. Go over it as many times as you like until you are happy with the initial result.

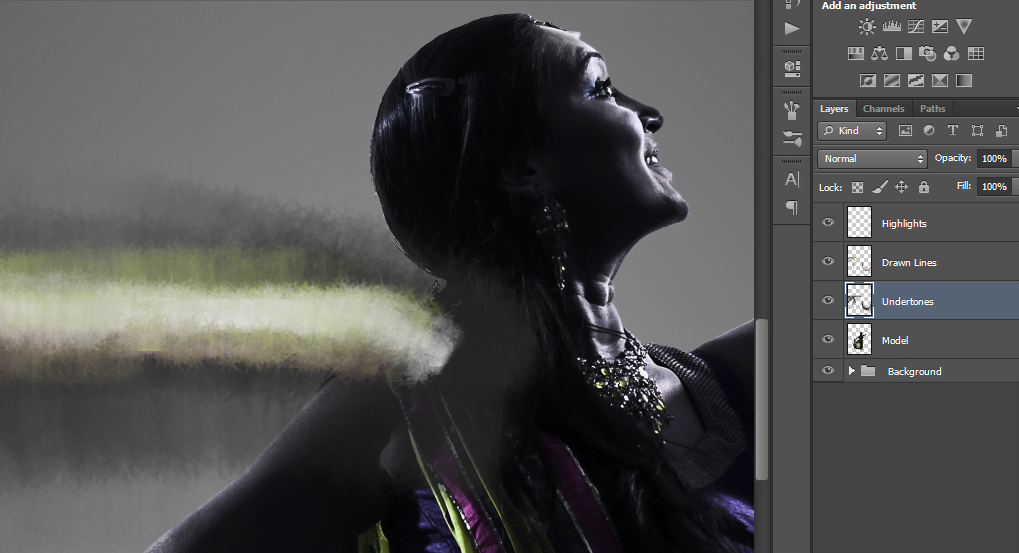
Now add two more layers, one on top of your drawn lines and one below. This is because we are going to add some highlights and shadow tones to the smoke. On the bottom layer, use a darker colour and for the layer above, use a lighter tone. Smudge these in as well until you end up with something similar to this. Your layer structure should be something like this.
Step 5: Tidying up your image
For me, this got pretty messy. So by using the Pologonal Lasoo Tool and by setting it to a feather of 100. I trimmed off any parts that were over laying the model.
From here you can do whatever you like in terms of effects. I used stock fractal images to help generate more of a nebula effect. I also played around with the adjustments to help the contrast. This is a good opportunity to have a play and to see what works well with your newly found smudge brush set.
After experimenting for about half an hour, here is how my final image turned out!
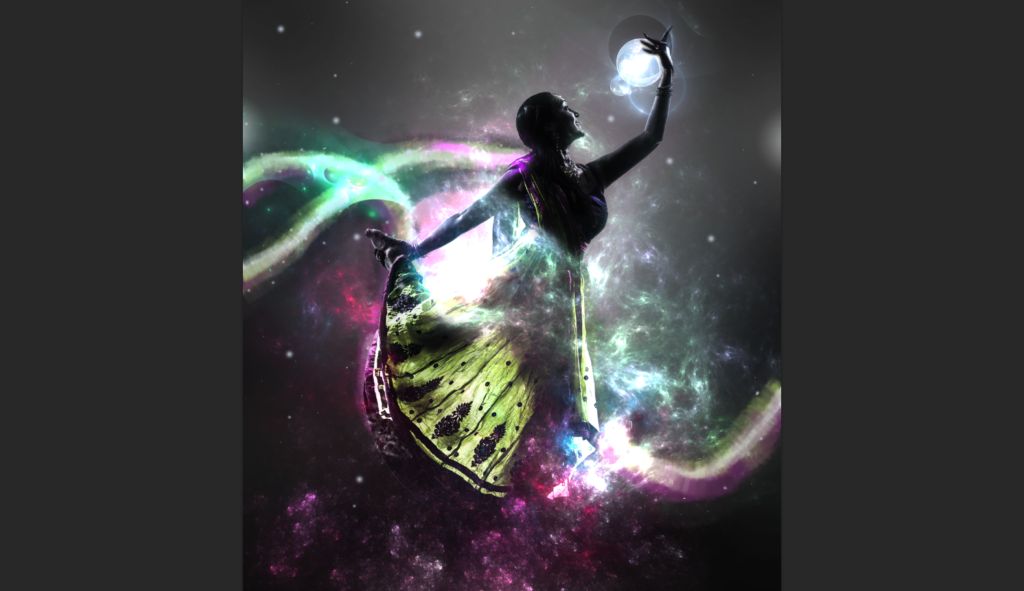
You can clearly see how important our smudging was. It set permanent guidelines to where we were going which helps the flow and the construction of the whole image.