In this article you will learn how to enhance images by using a various range of lighting enhancements in Adobe Photoshop. Lighting is one of the most important things to do when manipulating an image. Not only does it make your image stand out by using effective colours but it also helps give it a sharp, high quality finish.
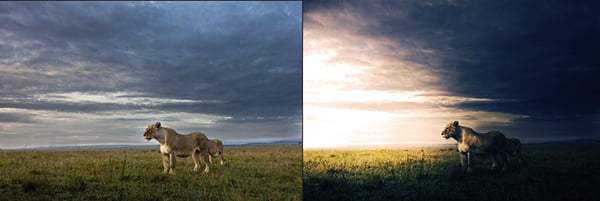
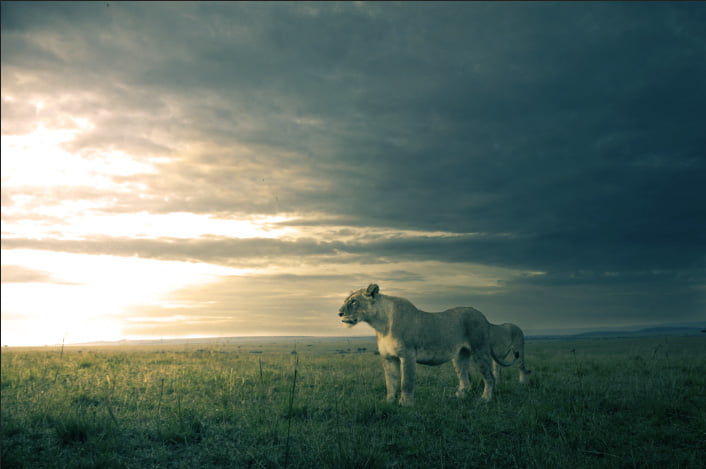
To start off with, you will need to pick an appropriate image. For the purpose of this article I have chosen a stock image with natural scenery so we can really see how to manipulate and enhance the natural colours.
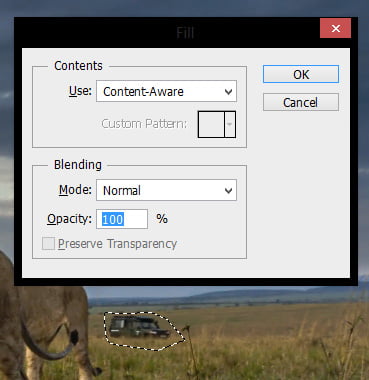
The first thing to do with your image is to take out any unwanted elements. For this image I would like to remove the car in the background.
To remove this, select the polygonal tool and click around the area you want to remove. I have set the feather to 2px, this is to ensure that it blends with the background.
Once you have selected the area you want to delete, simply press delete on your keyboard and a box will pop up. Select the content aware option. Content aware is an auto fill function that uses the surrounding pixels to replicate the pending blank space you are about to create. This is why it was important to set your feathering to a few pixels to help the content aware to blend nicely. Once you click OK, you will notice that the vehicle is totally gone like it was never there in the first place.
Firstly you will need to put your cleaned image on a new layer. It is a good idea to do this to back up your image in case you are not happy with any of the results.
Once this is done we need to set our light source. Click Filter > Render > Lighting Effects, this will take you to a new screen where you are able to rotate and enhance. For this image it is naturally going to be the angle from which the sun comes.
Be sure to play with the settings to make them right for you, I have increased all of the lighting effects apart from the gloss in order to highlight the light source.

To truly manipulate the colours in the image we will have to add some custom colours into the image. A good way of doing this is to add various colour filters.
First if you haven’t already, bring up the adjustments toolbox (window > adjustments). Now click the hue/saturation icon.
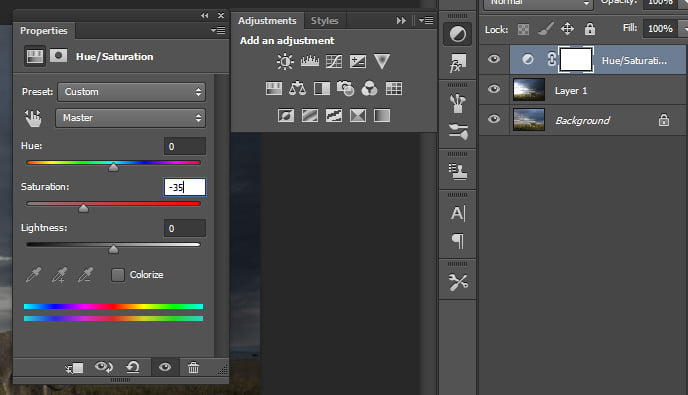
I have desaturated the image by -35 so that the colours which we are going to add do not clash too much. If we didn’t do this then the image would end up looking like an over contrasting 16bit colour image from the early 90’s.
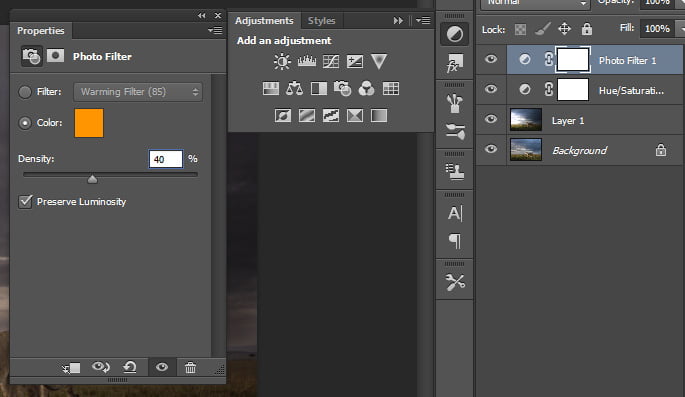
Now we need to add a base colour; click the Photo Filter icon and choose the colour option. For this image I have chosen a warm colour to compliment the environment of this stock image. I have also raised the density up to 40%; this will make the colour just a little bit stronger.
The next part of this is to add a gradient map from the adjustments toolbox. Double click on the colour box in the properties; this will bring up a new window called the Gradient Editor. Here you can choose whatever colours you want by clicking the small squares at the bottom of the scale. For this image I have chosen quite contrasting colours that complement the sky and ground, however you can choose which ever colours you like.


Once you have clicked OK, you will notice your image go a bit wild. You will now notice three new additional layers in your layers panel. In order to blend in the recent gradient map you will need to click on that layer. You will then see a range of options near the top of your layers toolbox. Flick through these additional settings and choose soft light. This will completely dampen down the gradient map layer. In order to blend it in with the colours behind you will also need to bring down the opacity of the layer to around 60%. Depending on the colours you have chosen, you may need to drop the opacity a bit lower.
At this point take a good look at your image and see if you are happy with your current results. You should have something similar to this. Make sure you are happy with your colour selections and also the intensity you have made those colours.

Once you are happy with the photo effect layers done in the previous steps we now need to enhance certain parts of the image. For this I have created a new layer and put it below the photo effect layers. The next thing to do is to select the brush tool and set the hardness to 0 whilst keeping the actual size of the brush large. This will help blend the brush throughout the image.
Once you have selected this, paint the layer in the places you want to exaggerate. For my image I wanted to highlight the horizon a bit more, so I just painted dots in the general direction the sun was coming from.
After you have painted your layer, set your opacity as appropriate (I set mine to 80%) and also put the layer as an overlay in the drop down layer options as shown in step 3.
For this step it is a good idea to either enhance or create shadows and highlights for your focal point of the image. To do this you can use the dodge and burn tools.
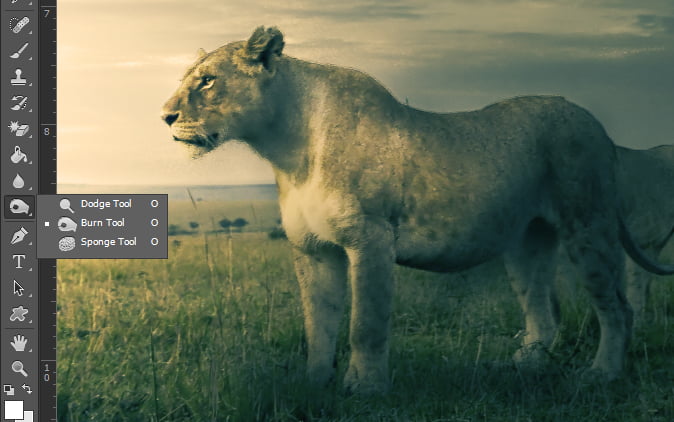
In the image above you can see how I have used the natural light to guide where I have painted. Remember to keep the hardness of the dodge and burn tools to 0. Repeat this process until you are happy with your outcome.
All the main processes are now complete; all you may need to do is a bit of touching up. Using the adjustment toolbox shown in step 3, try adding your own additional filters. I used and played around with curves, brightness and contrast, and levels.
The best way to learn Photoshop is to keep of playing with the program. Don’t be afraid to try things and do not be over whelmed by the interface. This is just a very small part of how to do lighting, there are hundreds of different ways to approach this kind of effect however please don’t be lazy and use Instagram!